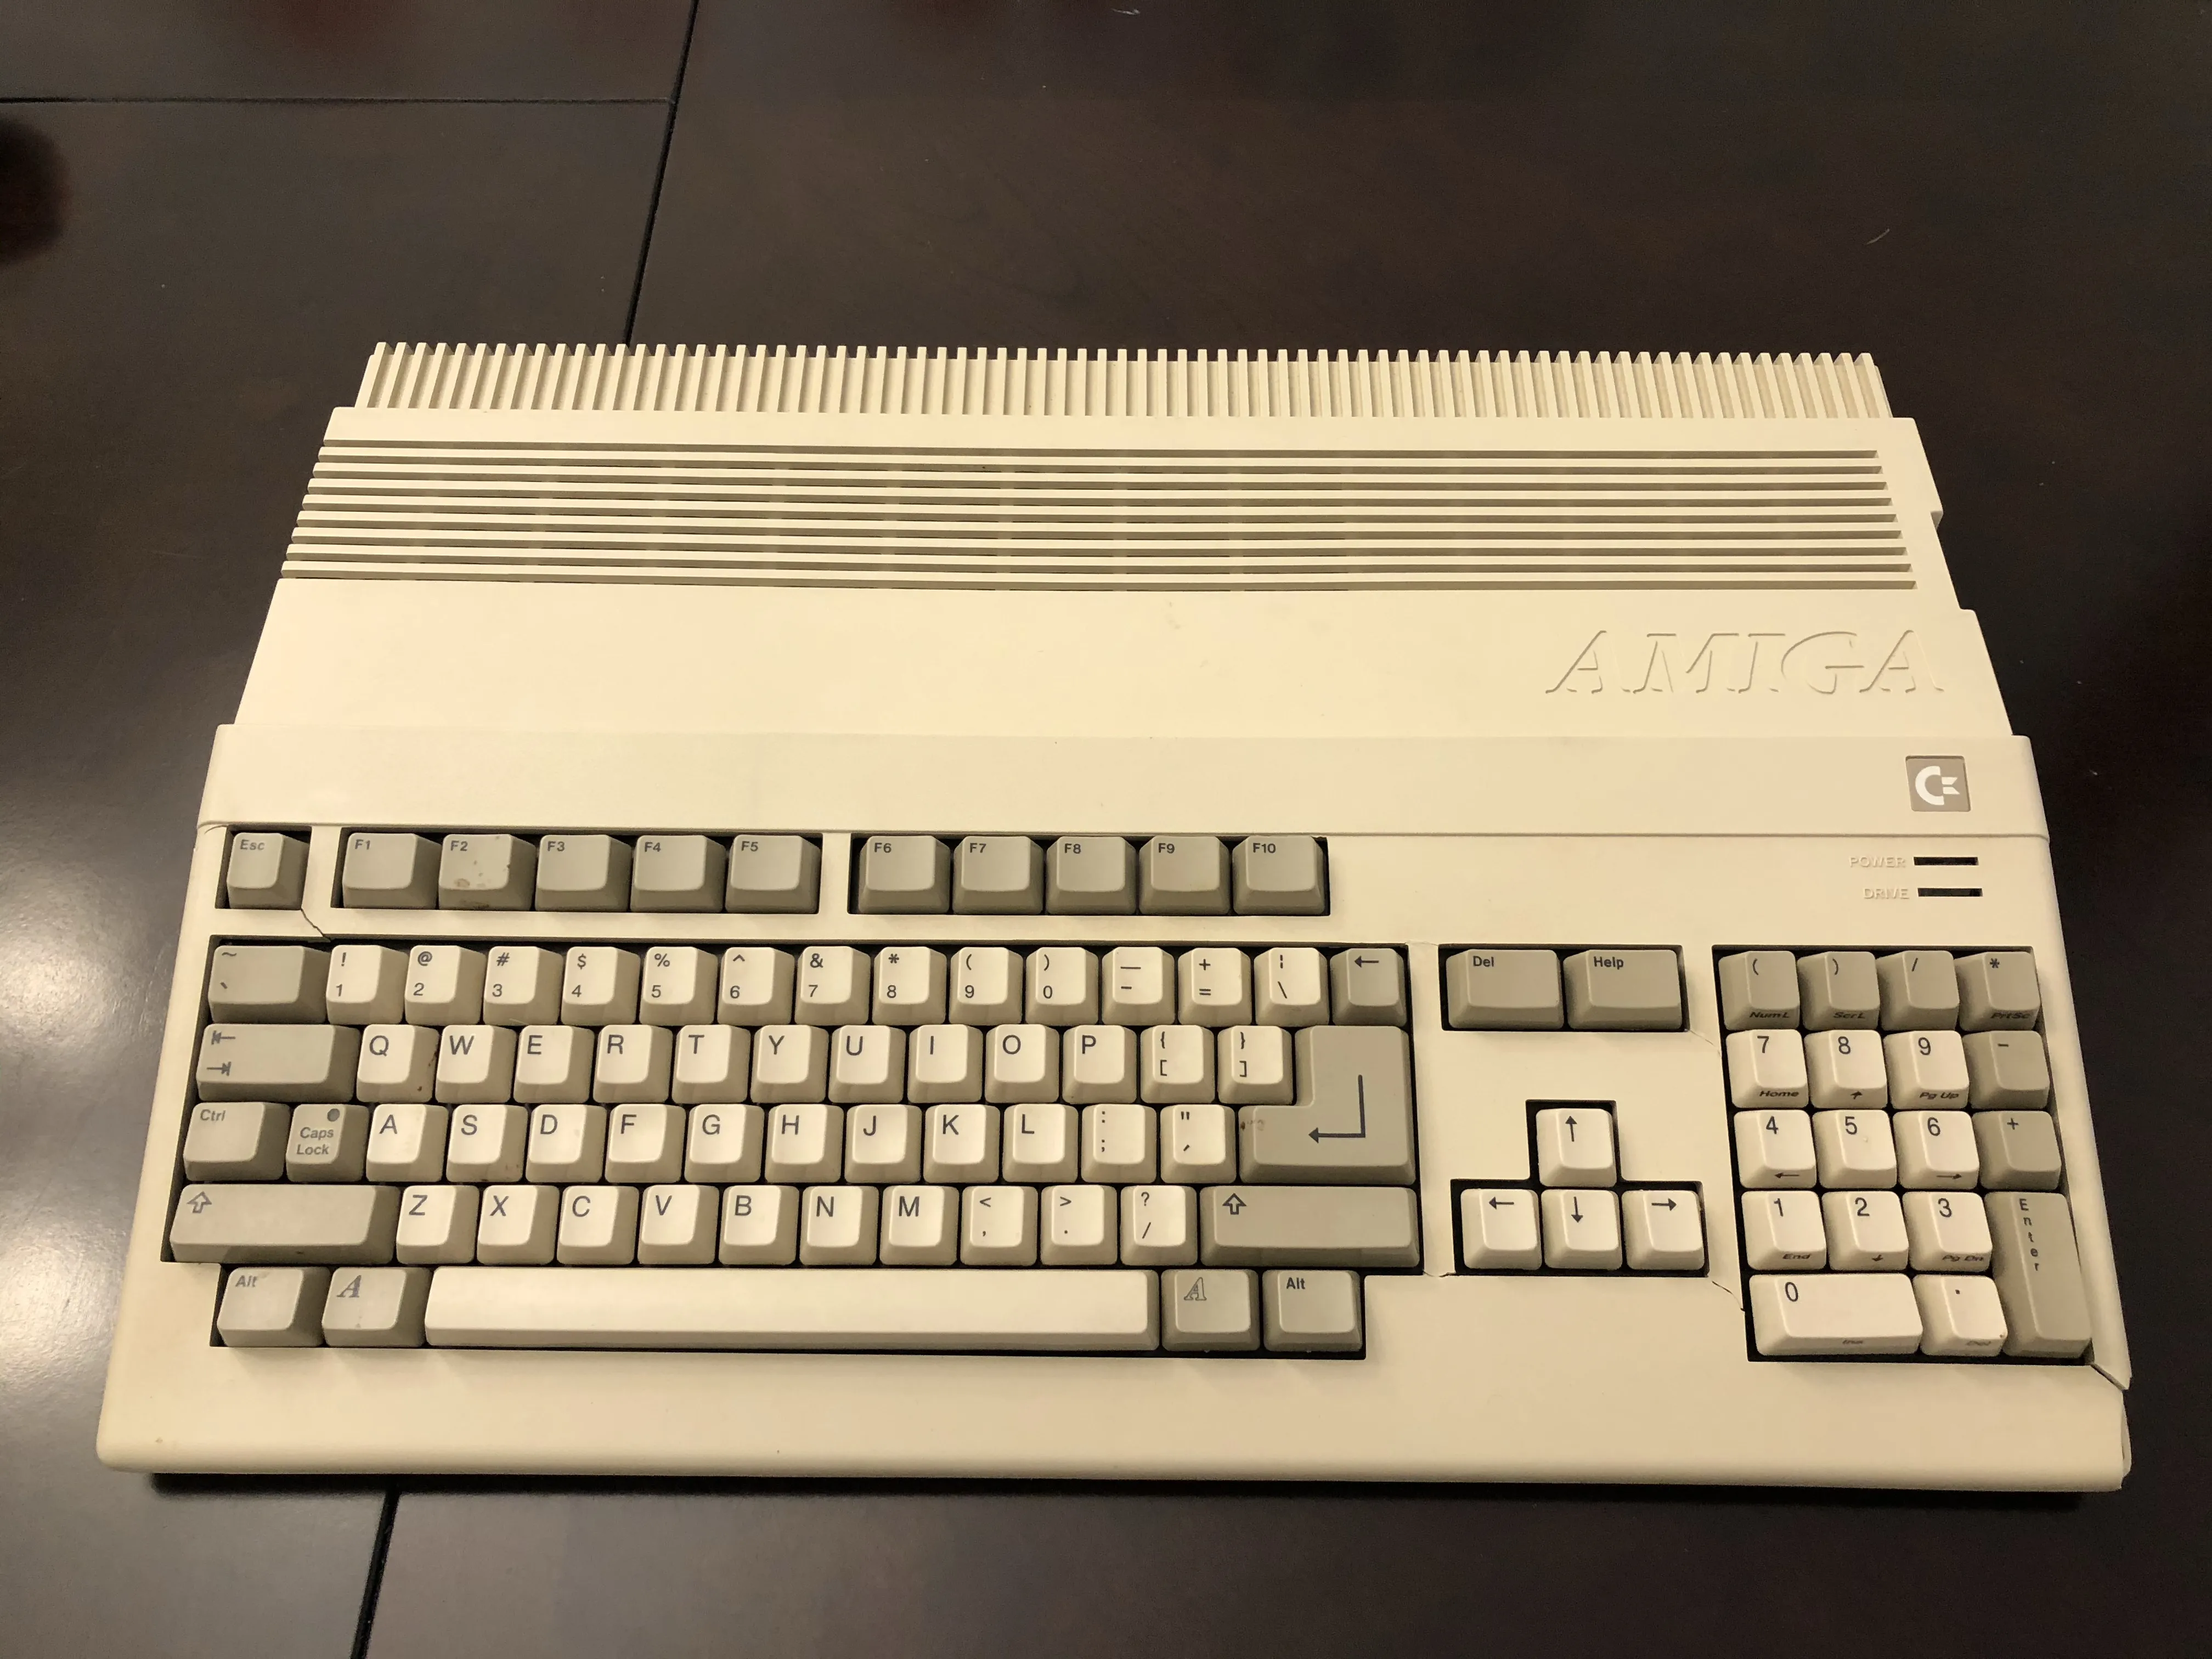
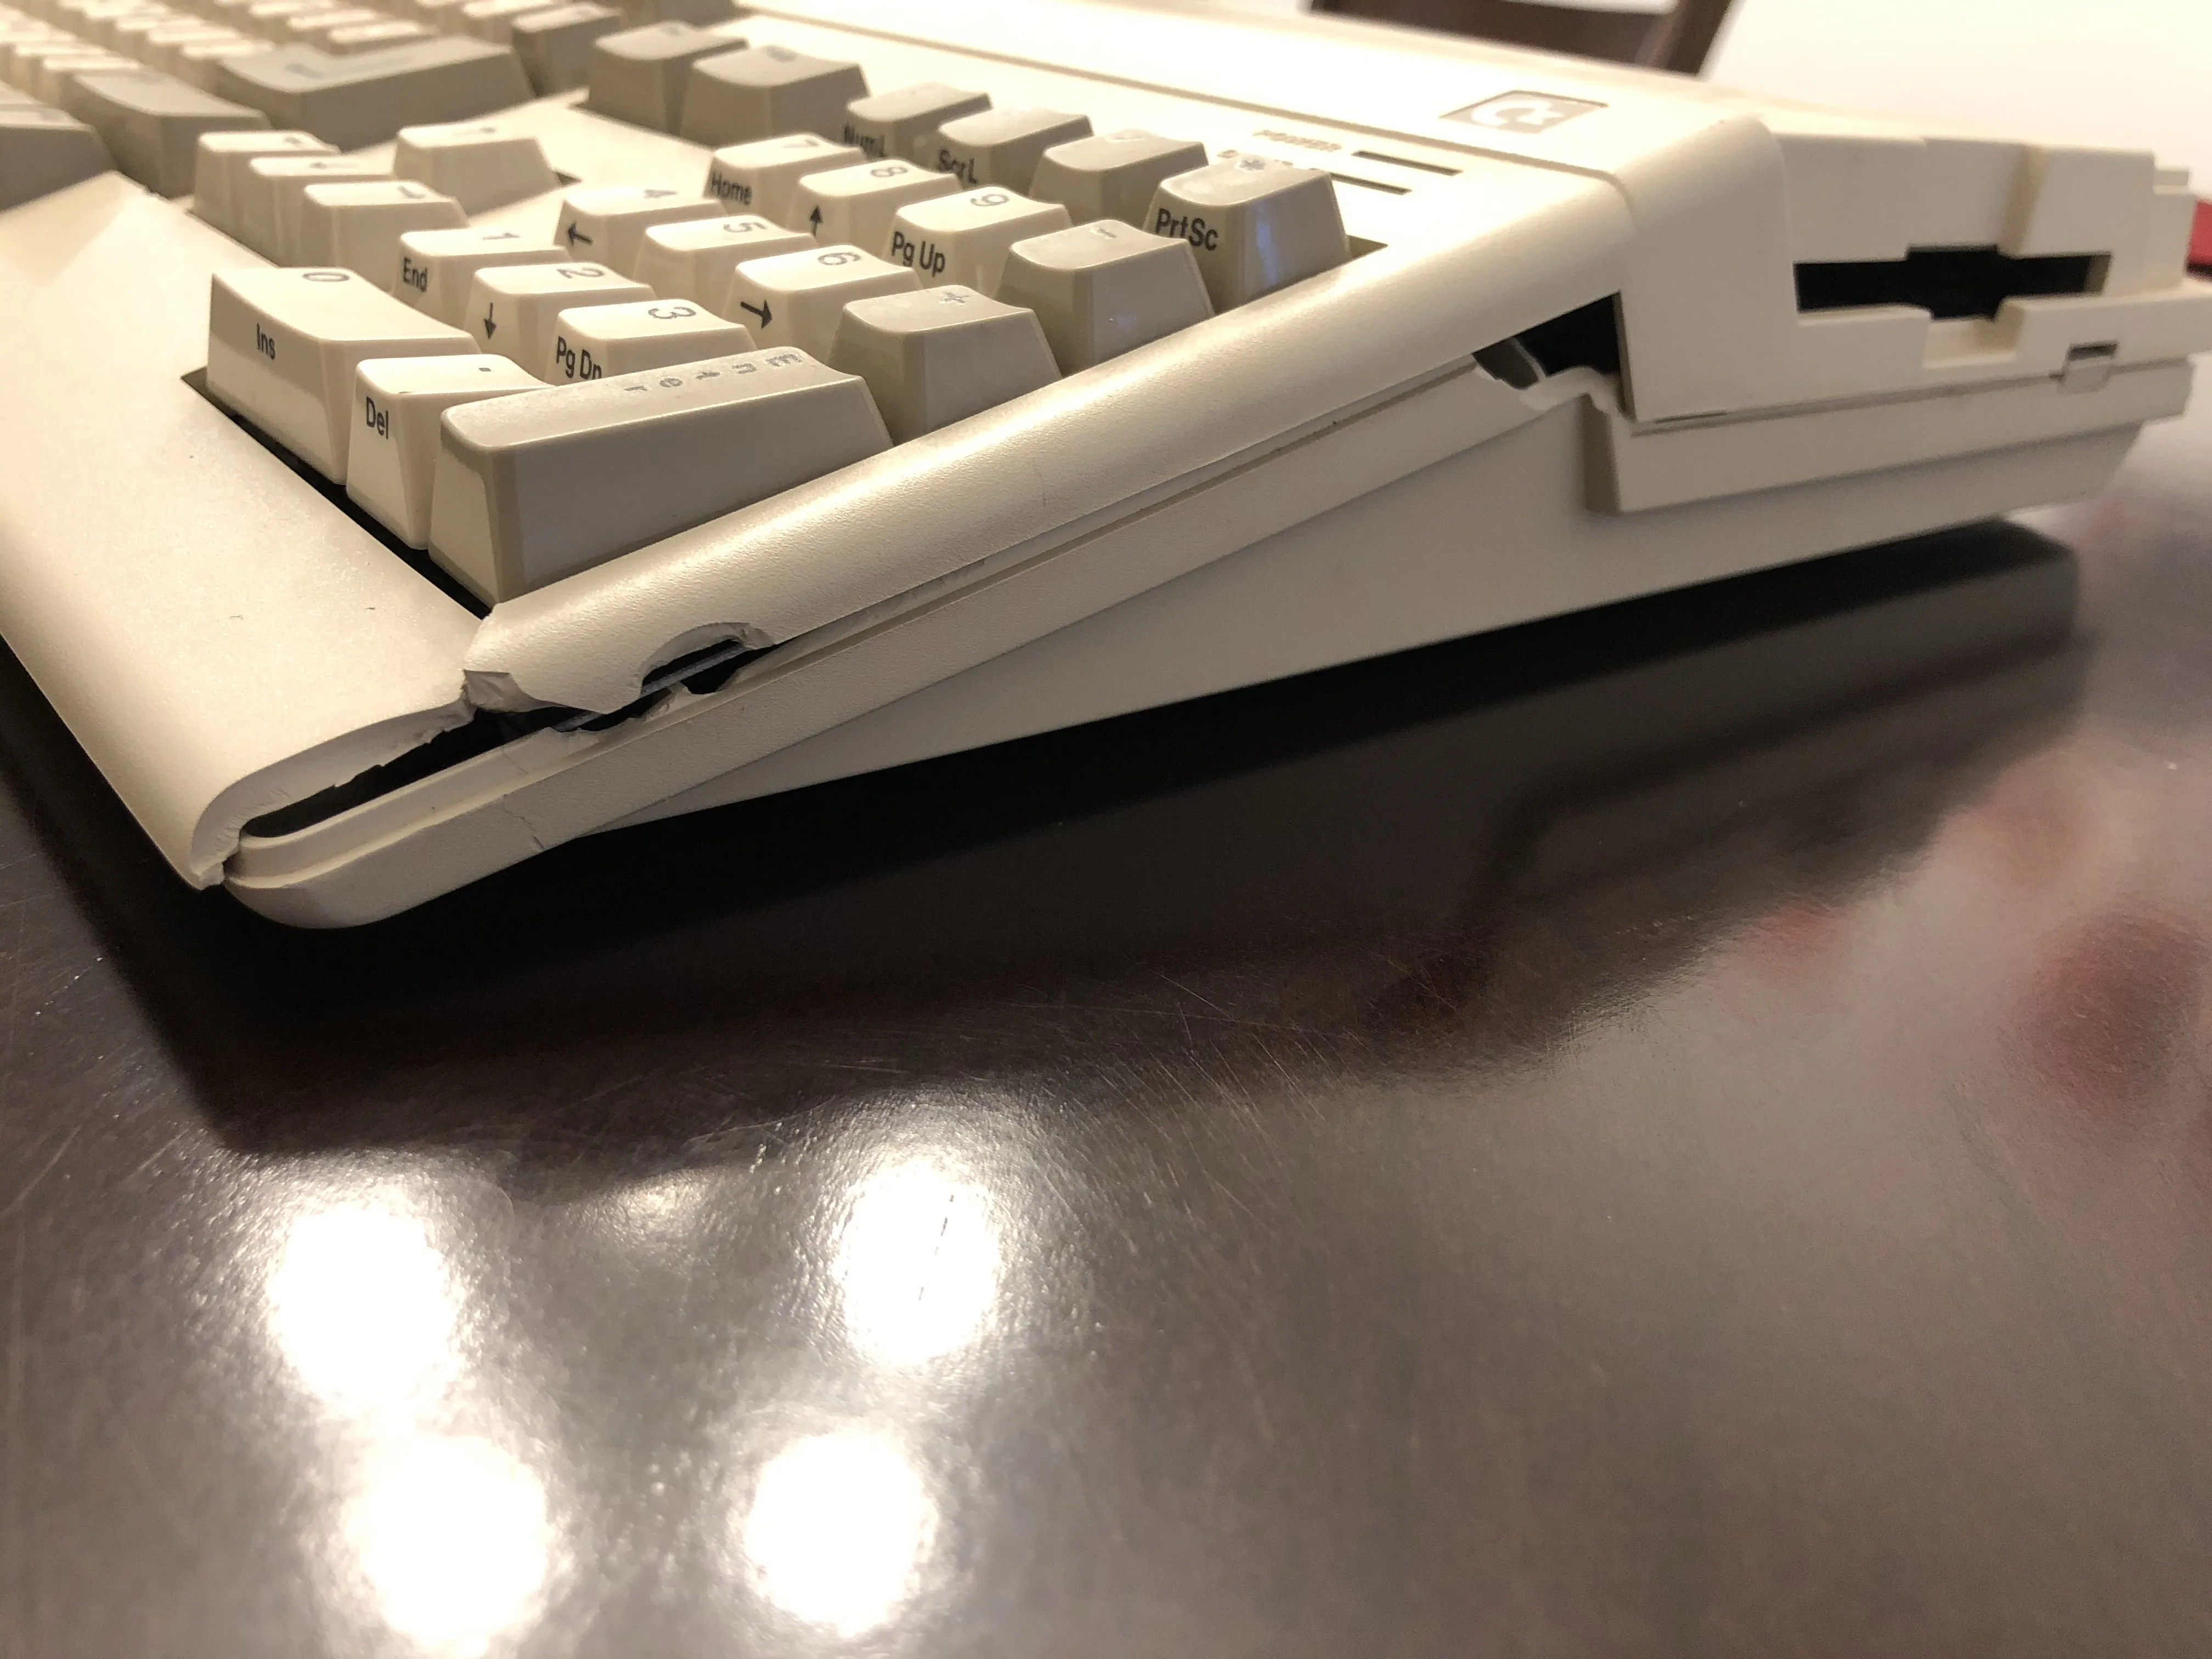
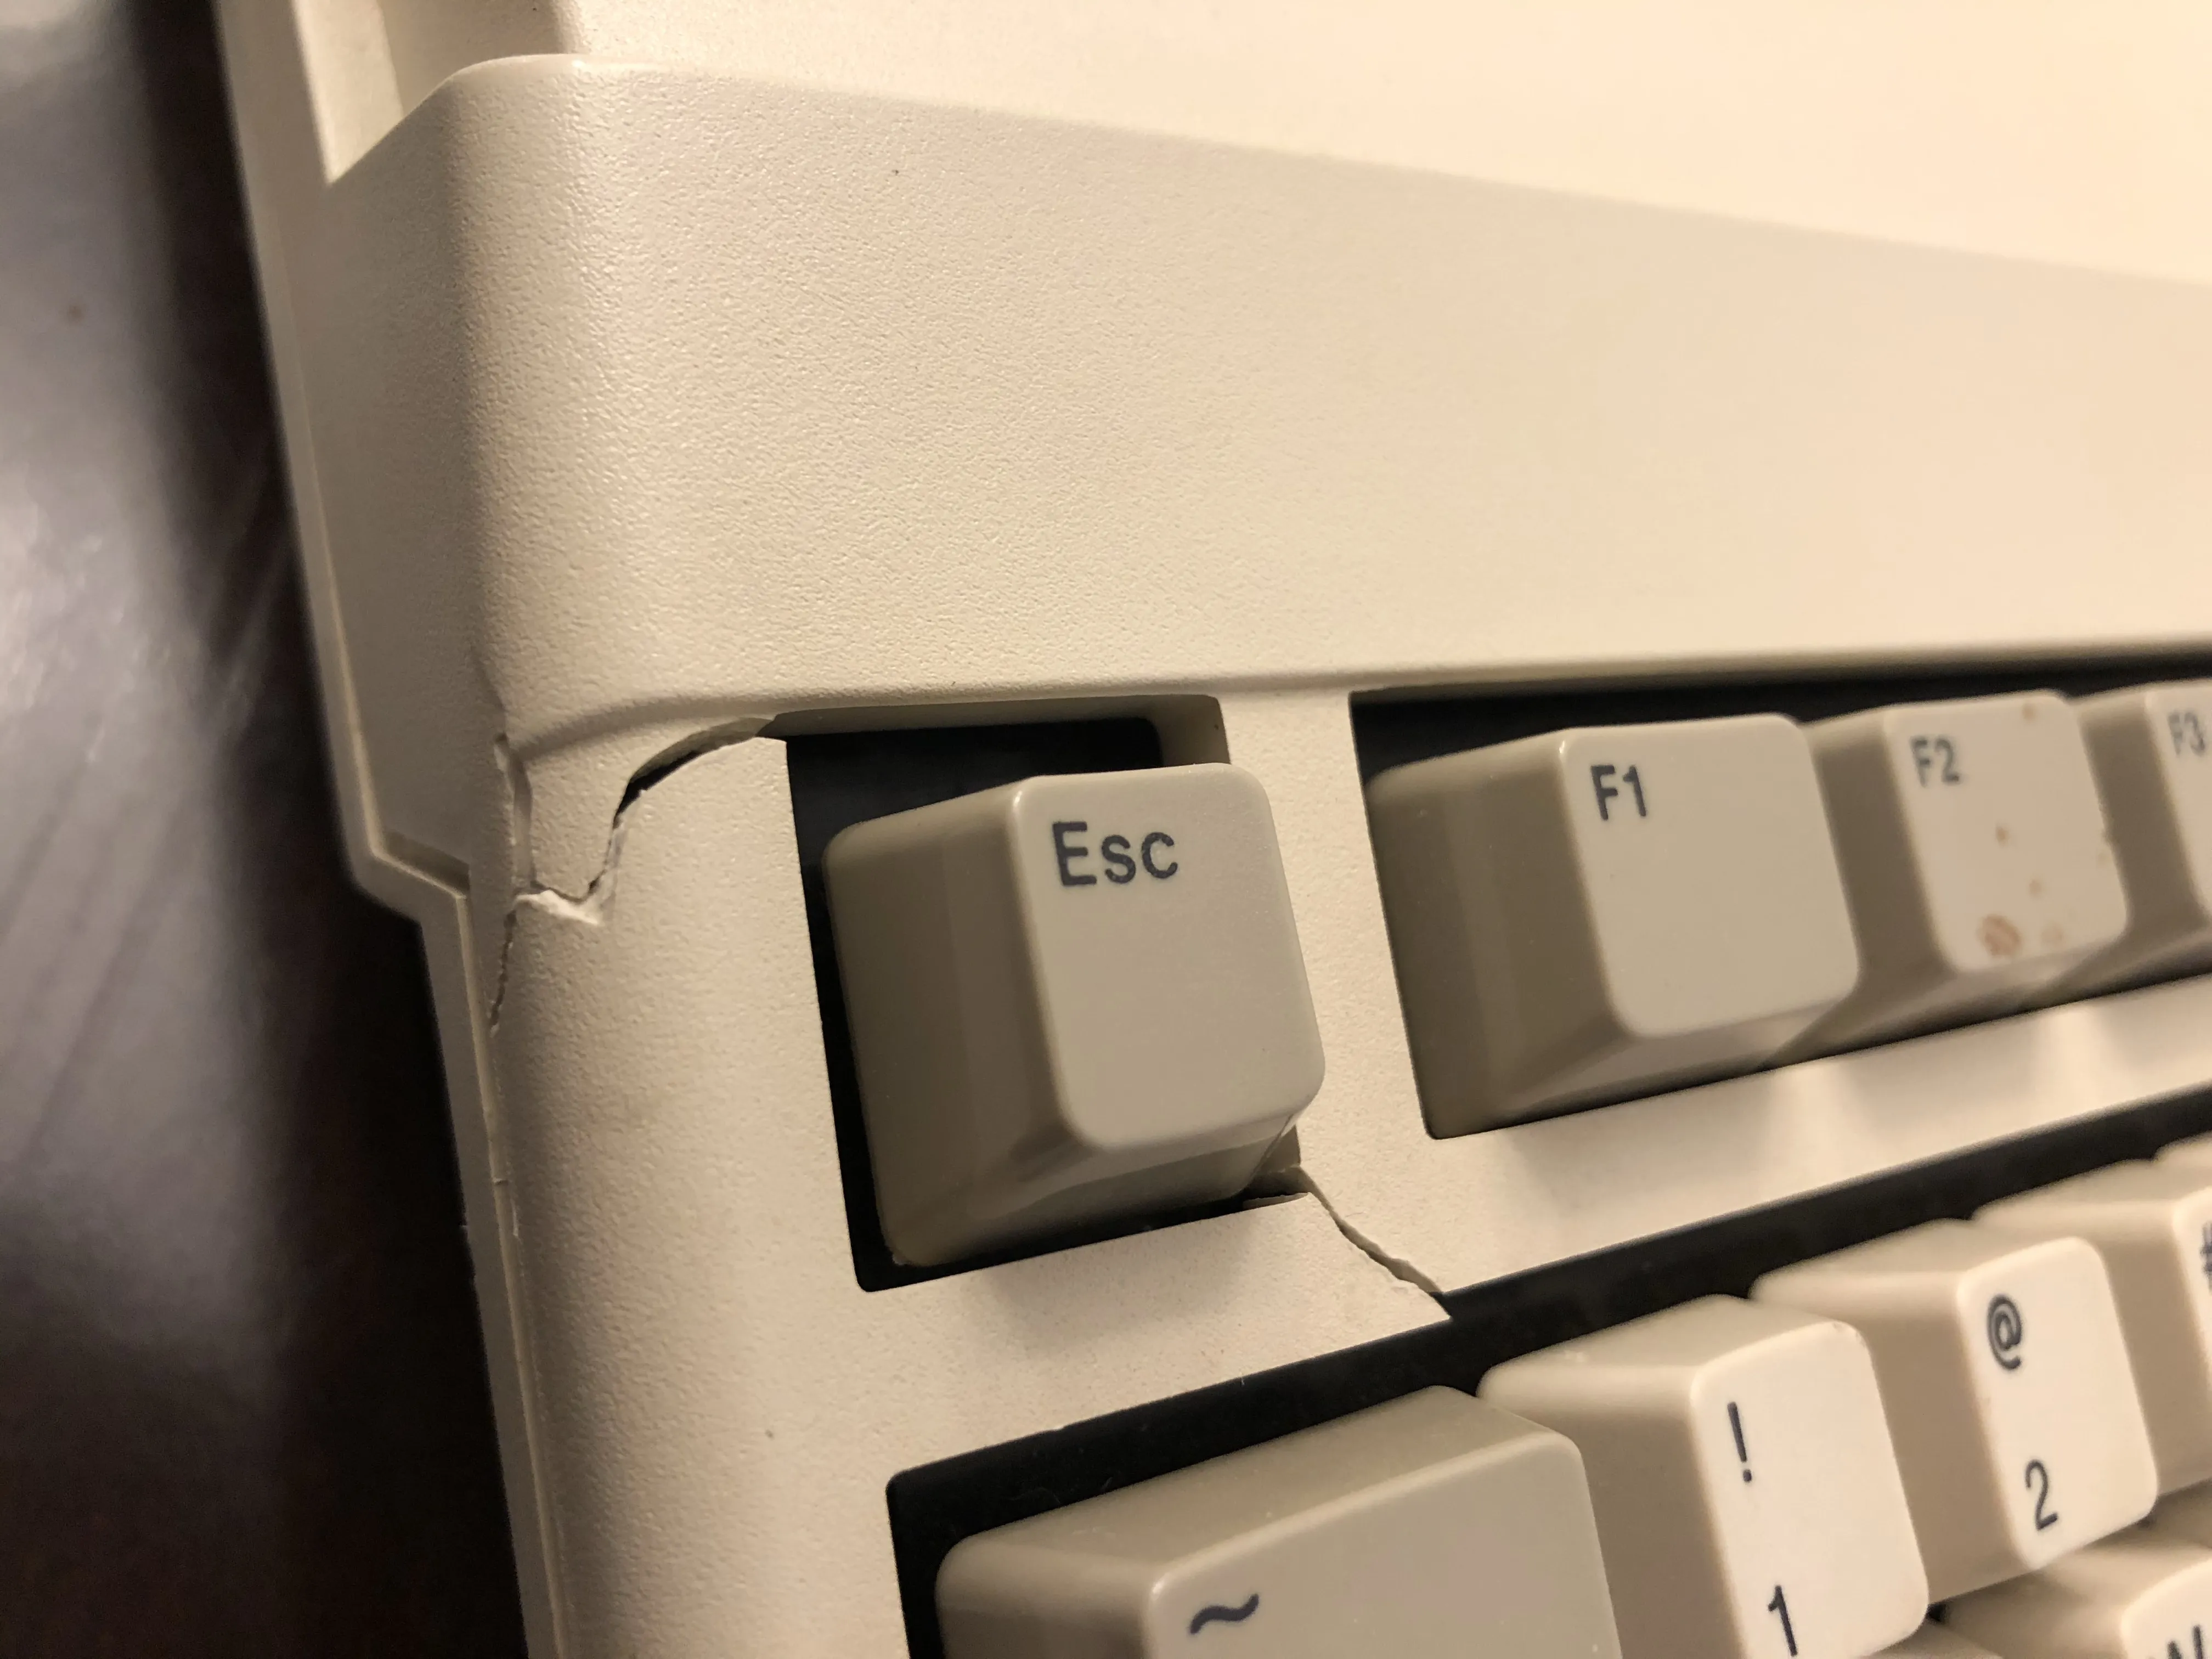
I recently acquired an Amiga 500 with some physical damage and unknown operating state. However, I’ve never owned one before and was initially ill-equipped to even check if it indeed still booted.
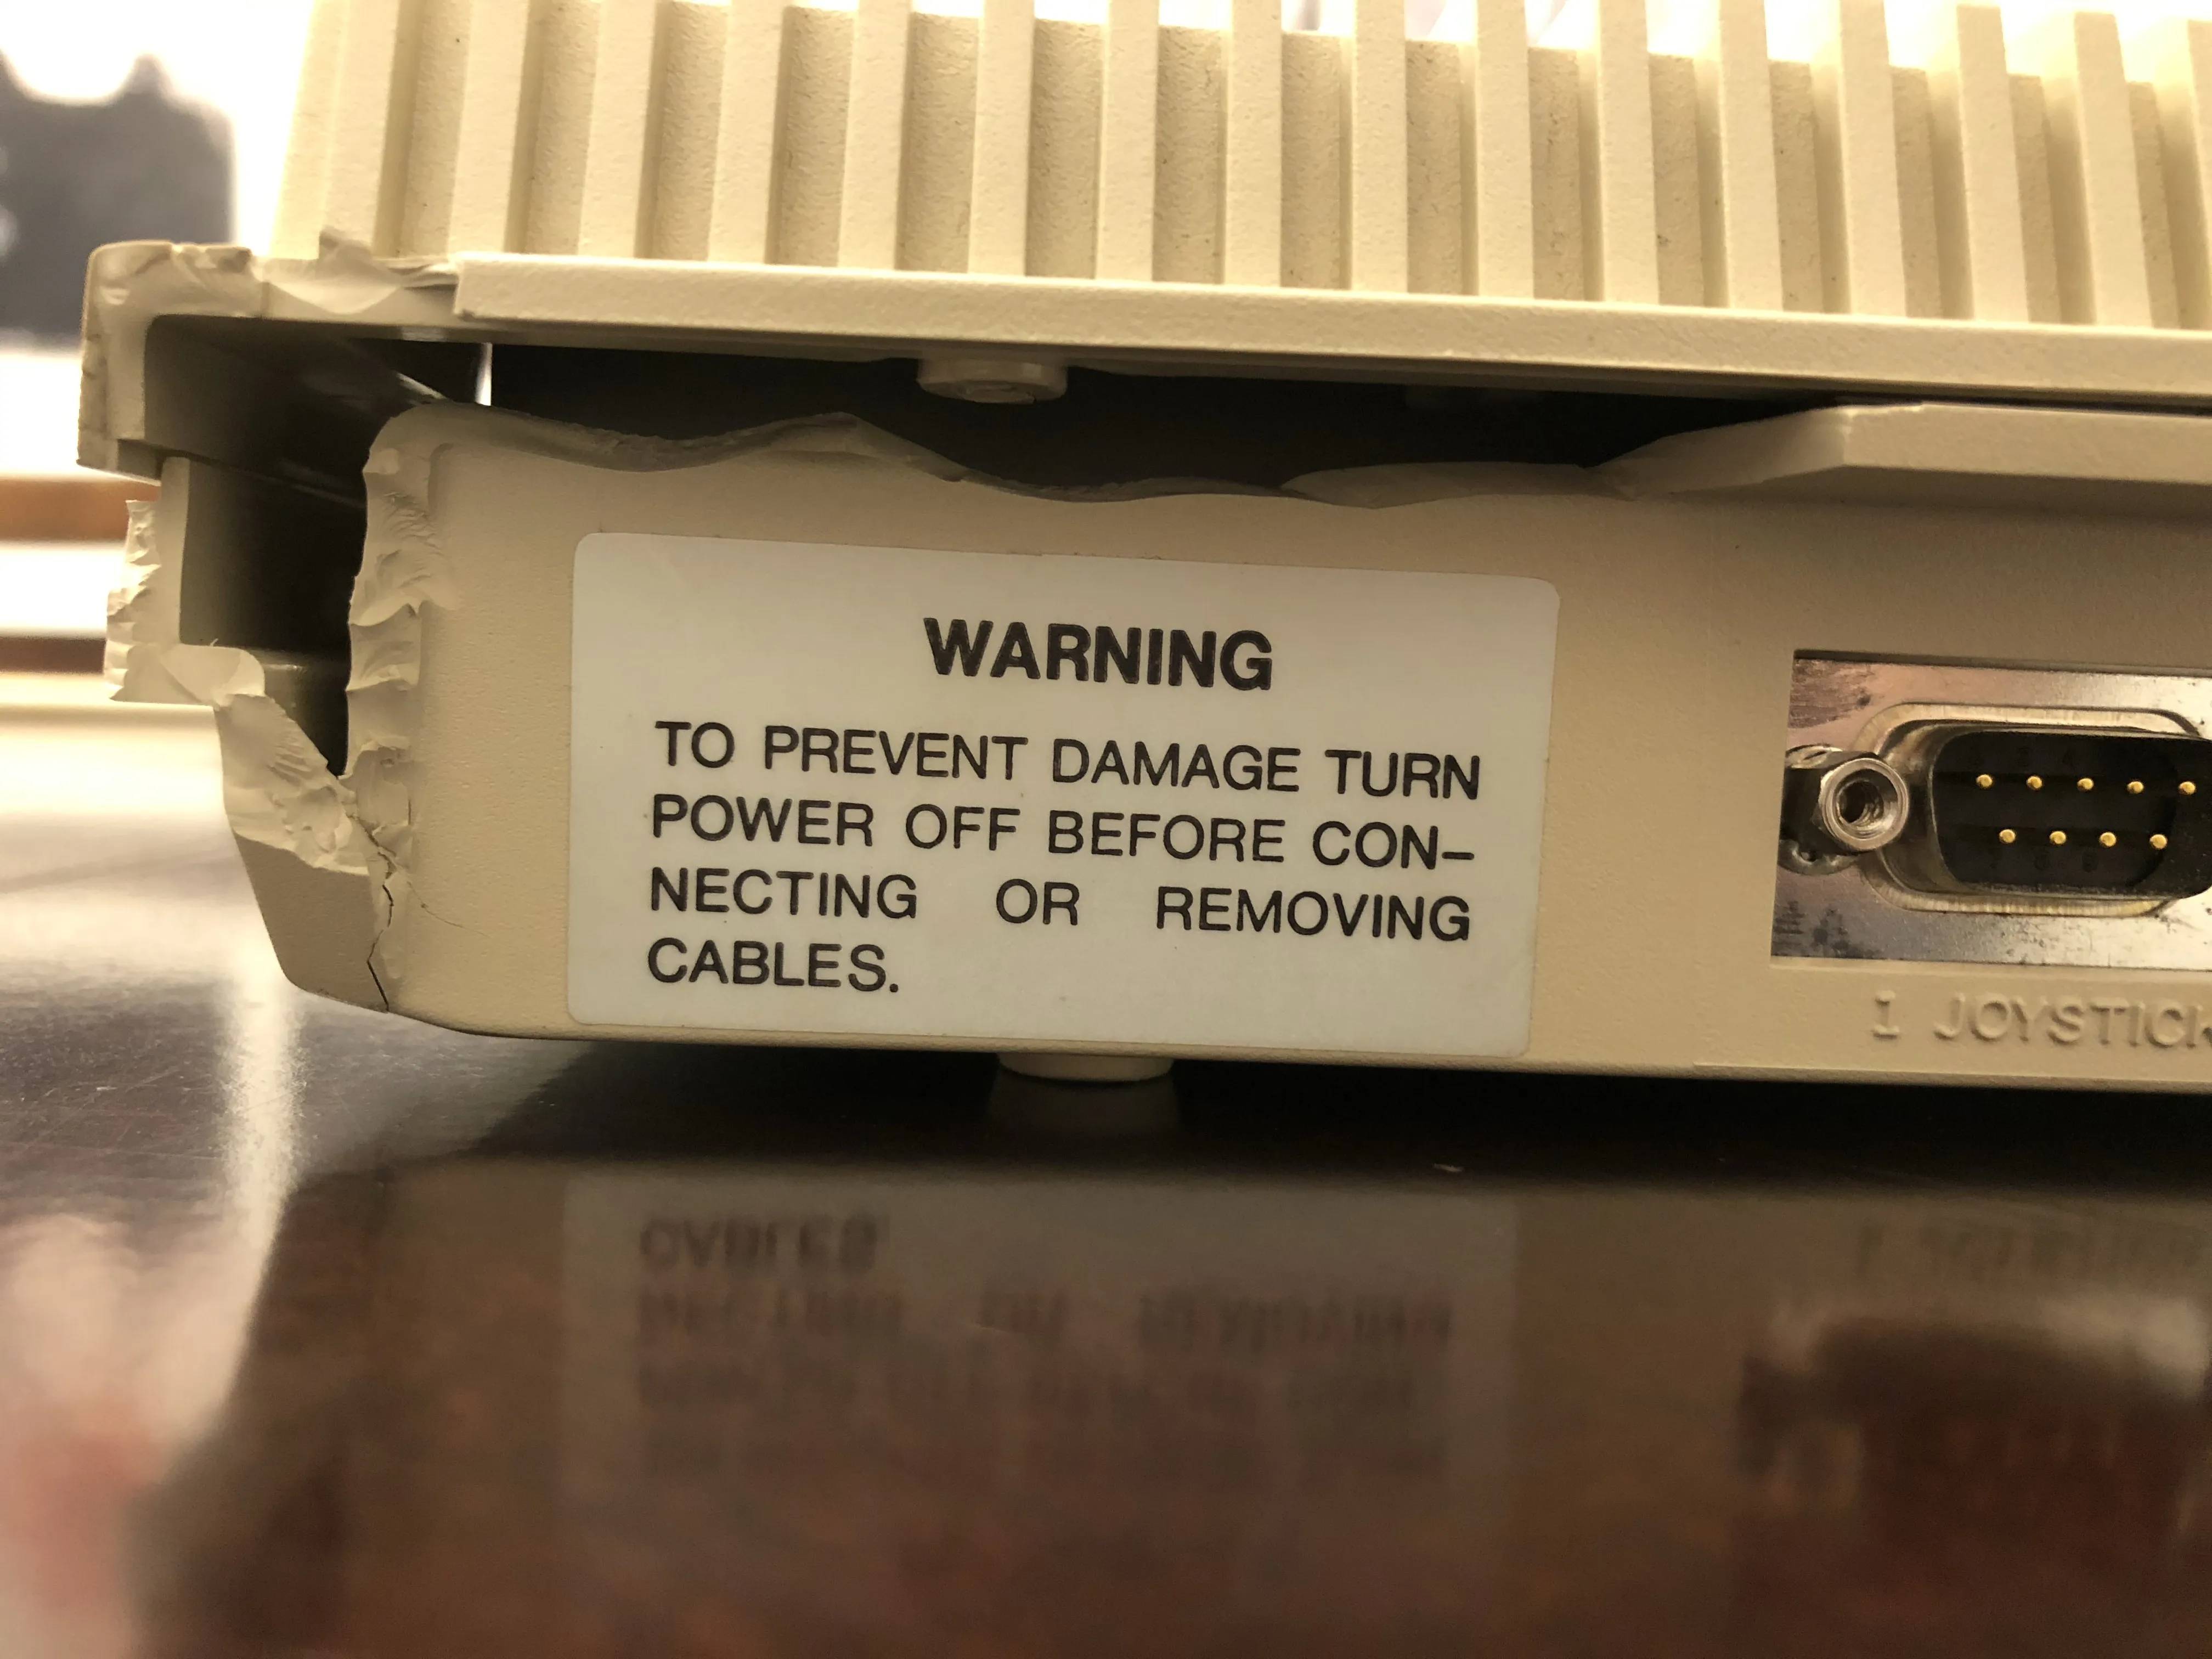
The auction did not include a video cable with the machine, and even if it did, I don’t have a suitable monitor for it. Amigas requires a monitor that supports an analog 15 kHz signal.
There are many recent monitors that do work with an Amiga, though. Check out 15khz.wikidot.com for a list. If you do have one of those monitors, you just need a properly wired DB-23 to VGA connector, which can currently be found on eBay for under $20.
Not having a supported monitor meant that before I could see the Amiga 500 boot, I needed to find an inexpensive way to get video output.
Video Converter Board
RetroManCave has a video on using a GBS-8220 to get an Amiga 500 outputting video to any RGB monitor. This was exactly what I needed.
Tracking down the GBS-8220 was the easy part. There are many available on Amazon and eBay. I got mine from Amazon for around $24 shipped. There are a few options that come up when you search for GBS-8220 on Amazon. The one I bought was the “Mcbazel” one.
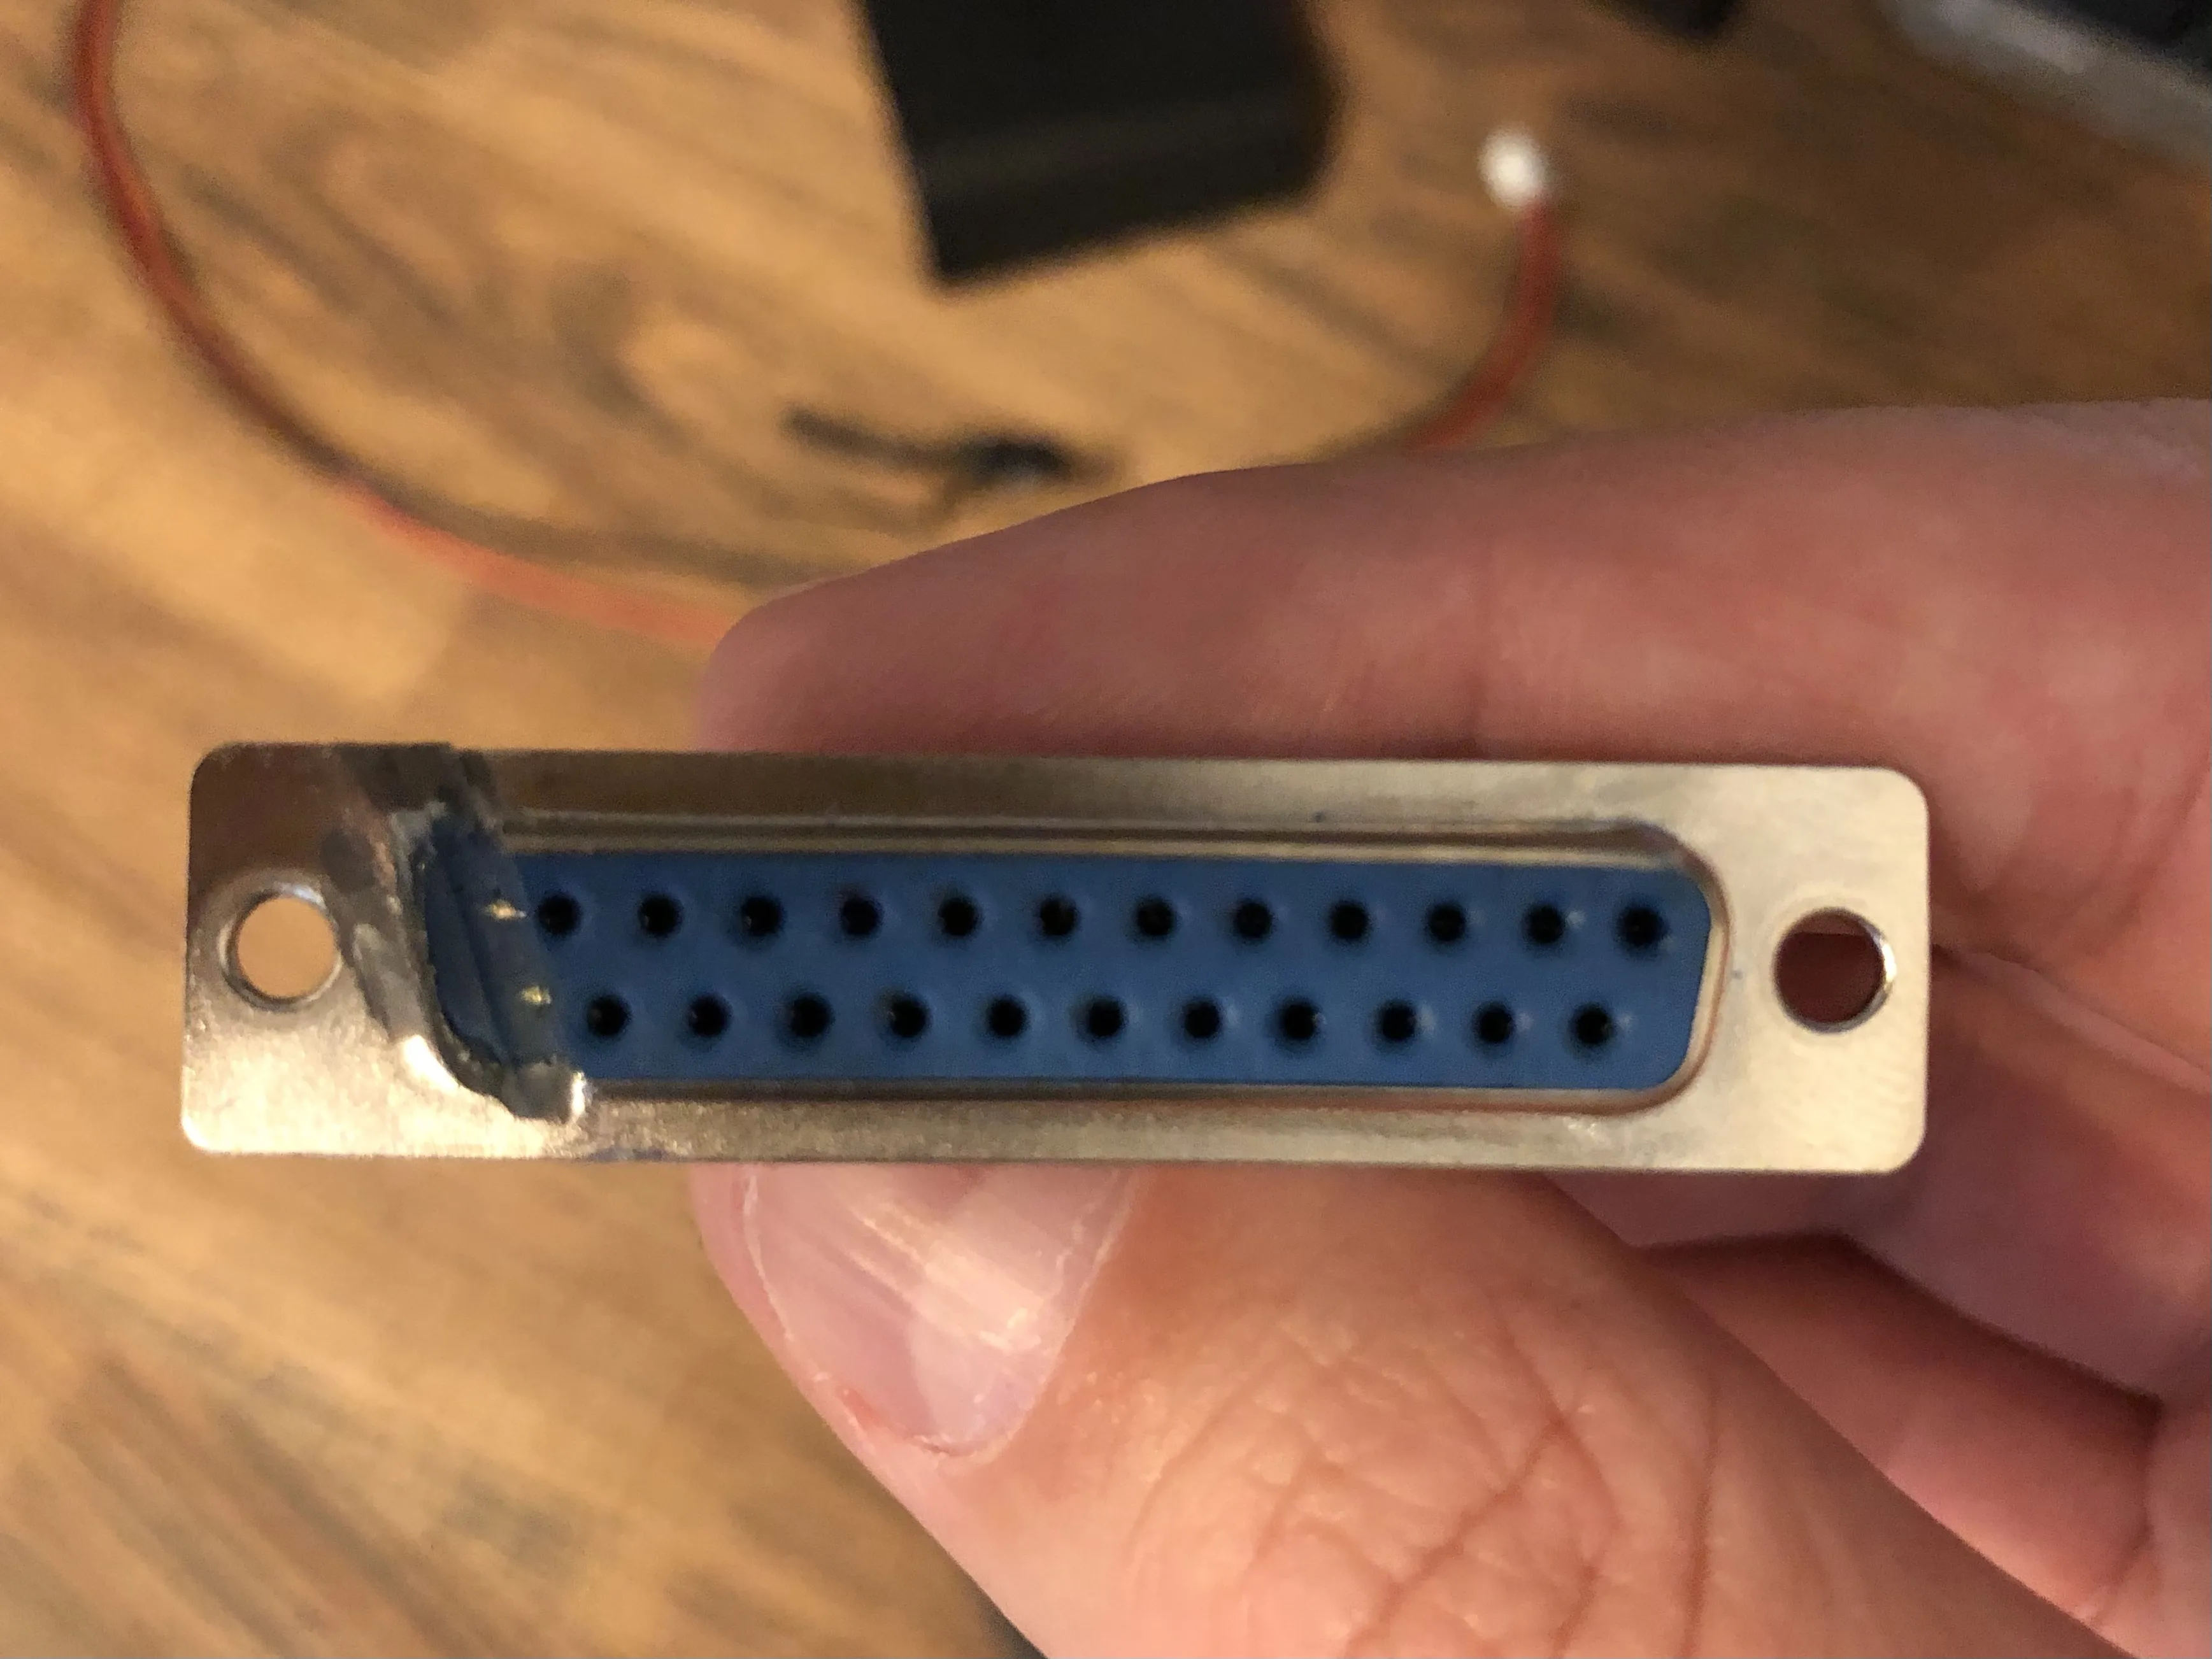
The DB-23 connector for the video port on the Amiga was the most difficult item to find. Judging from forum posts, they last seemed easy to find around 2018. Any available right now are either an actual DB-23 connector, and expensive, or a modified DB-25, which is little less expensive. Right now, they range from $30 to $40 for a real one and $12 to $20 for a modified DB-25.
Another option is to buy a box of 10 DB-25 connectors for less than $10 and ground down one side of the connector. It’s not pretty, but it works.
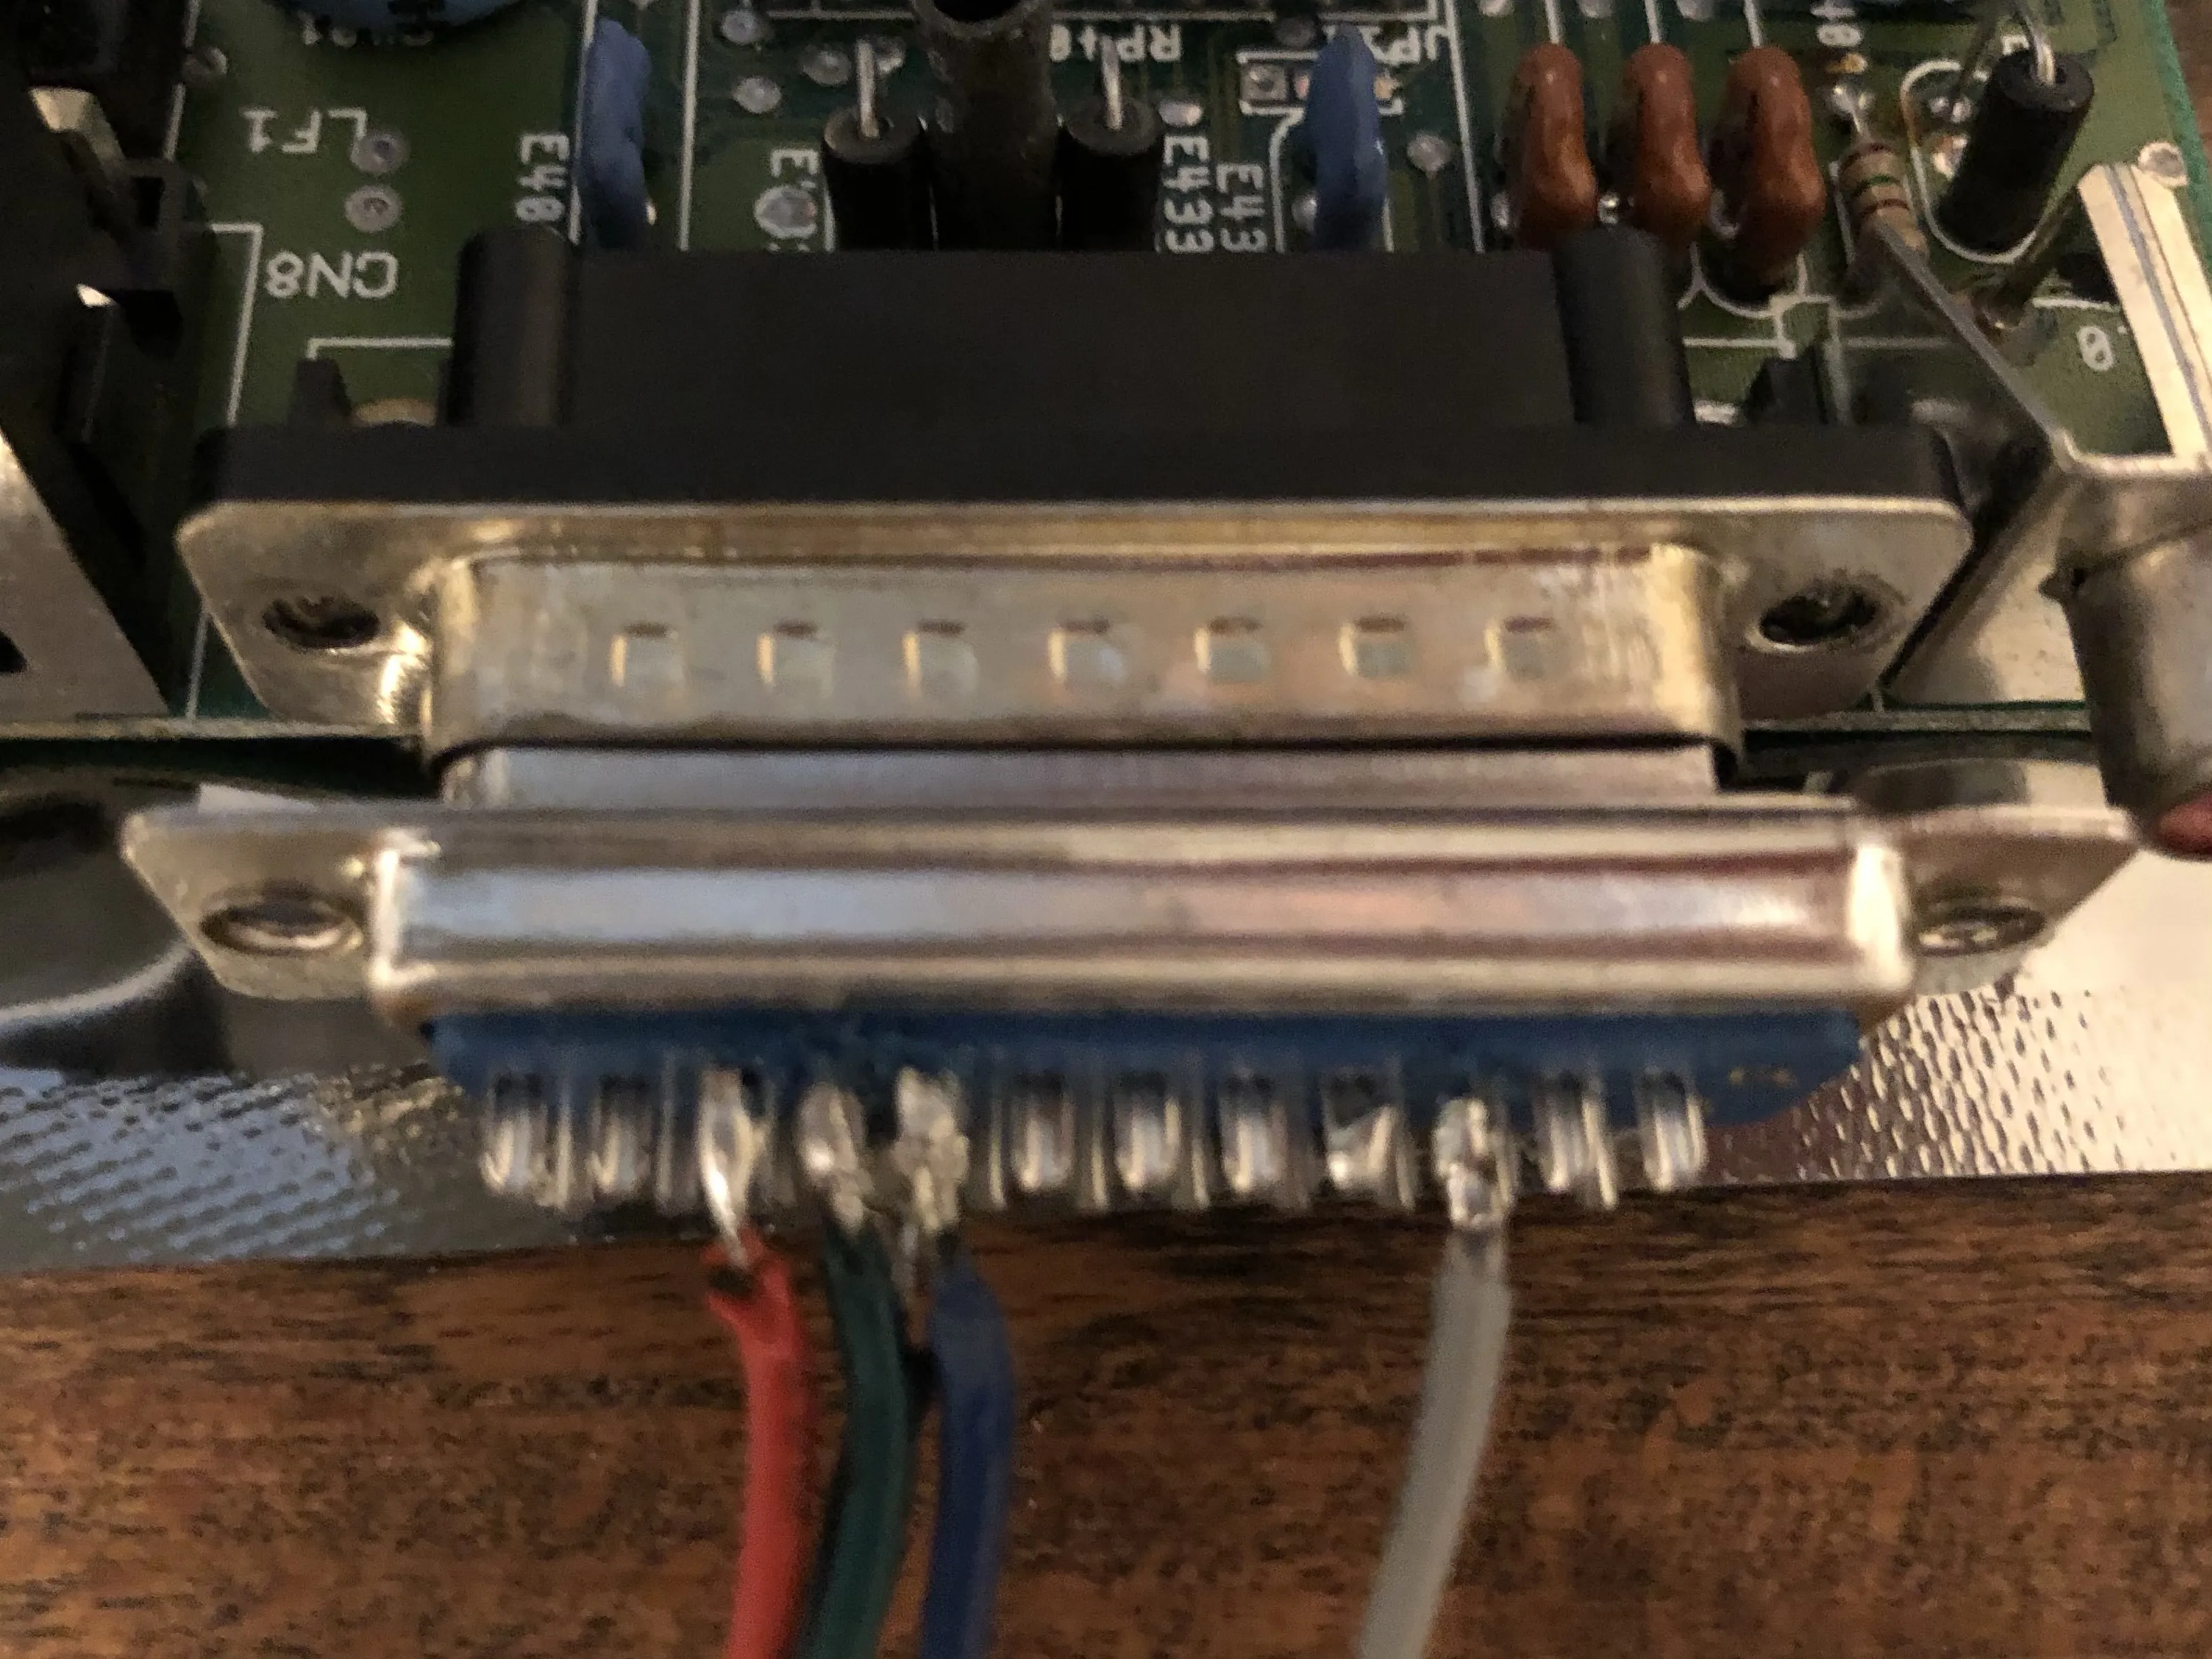
Next, I wired up the connector per the directions in the RMC video and found a suitable 5V power supply for the GBS-8220.
Power On
Before booting, I checked all the IC sockets to make sure they were seated well. I also made sure all the capacitors looked good—there were no signs of bulging or electrolytic fluid leaking. The board looked good. Lastly, I checked out the power supply with my multimeter. I felt it was safe to turn it on.
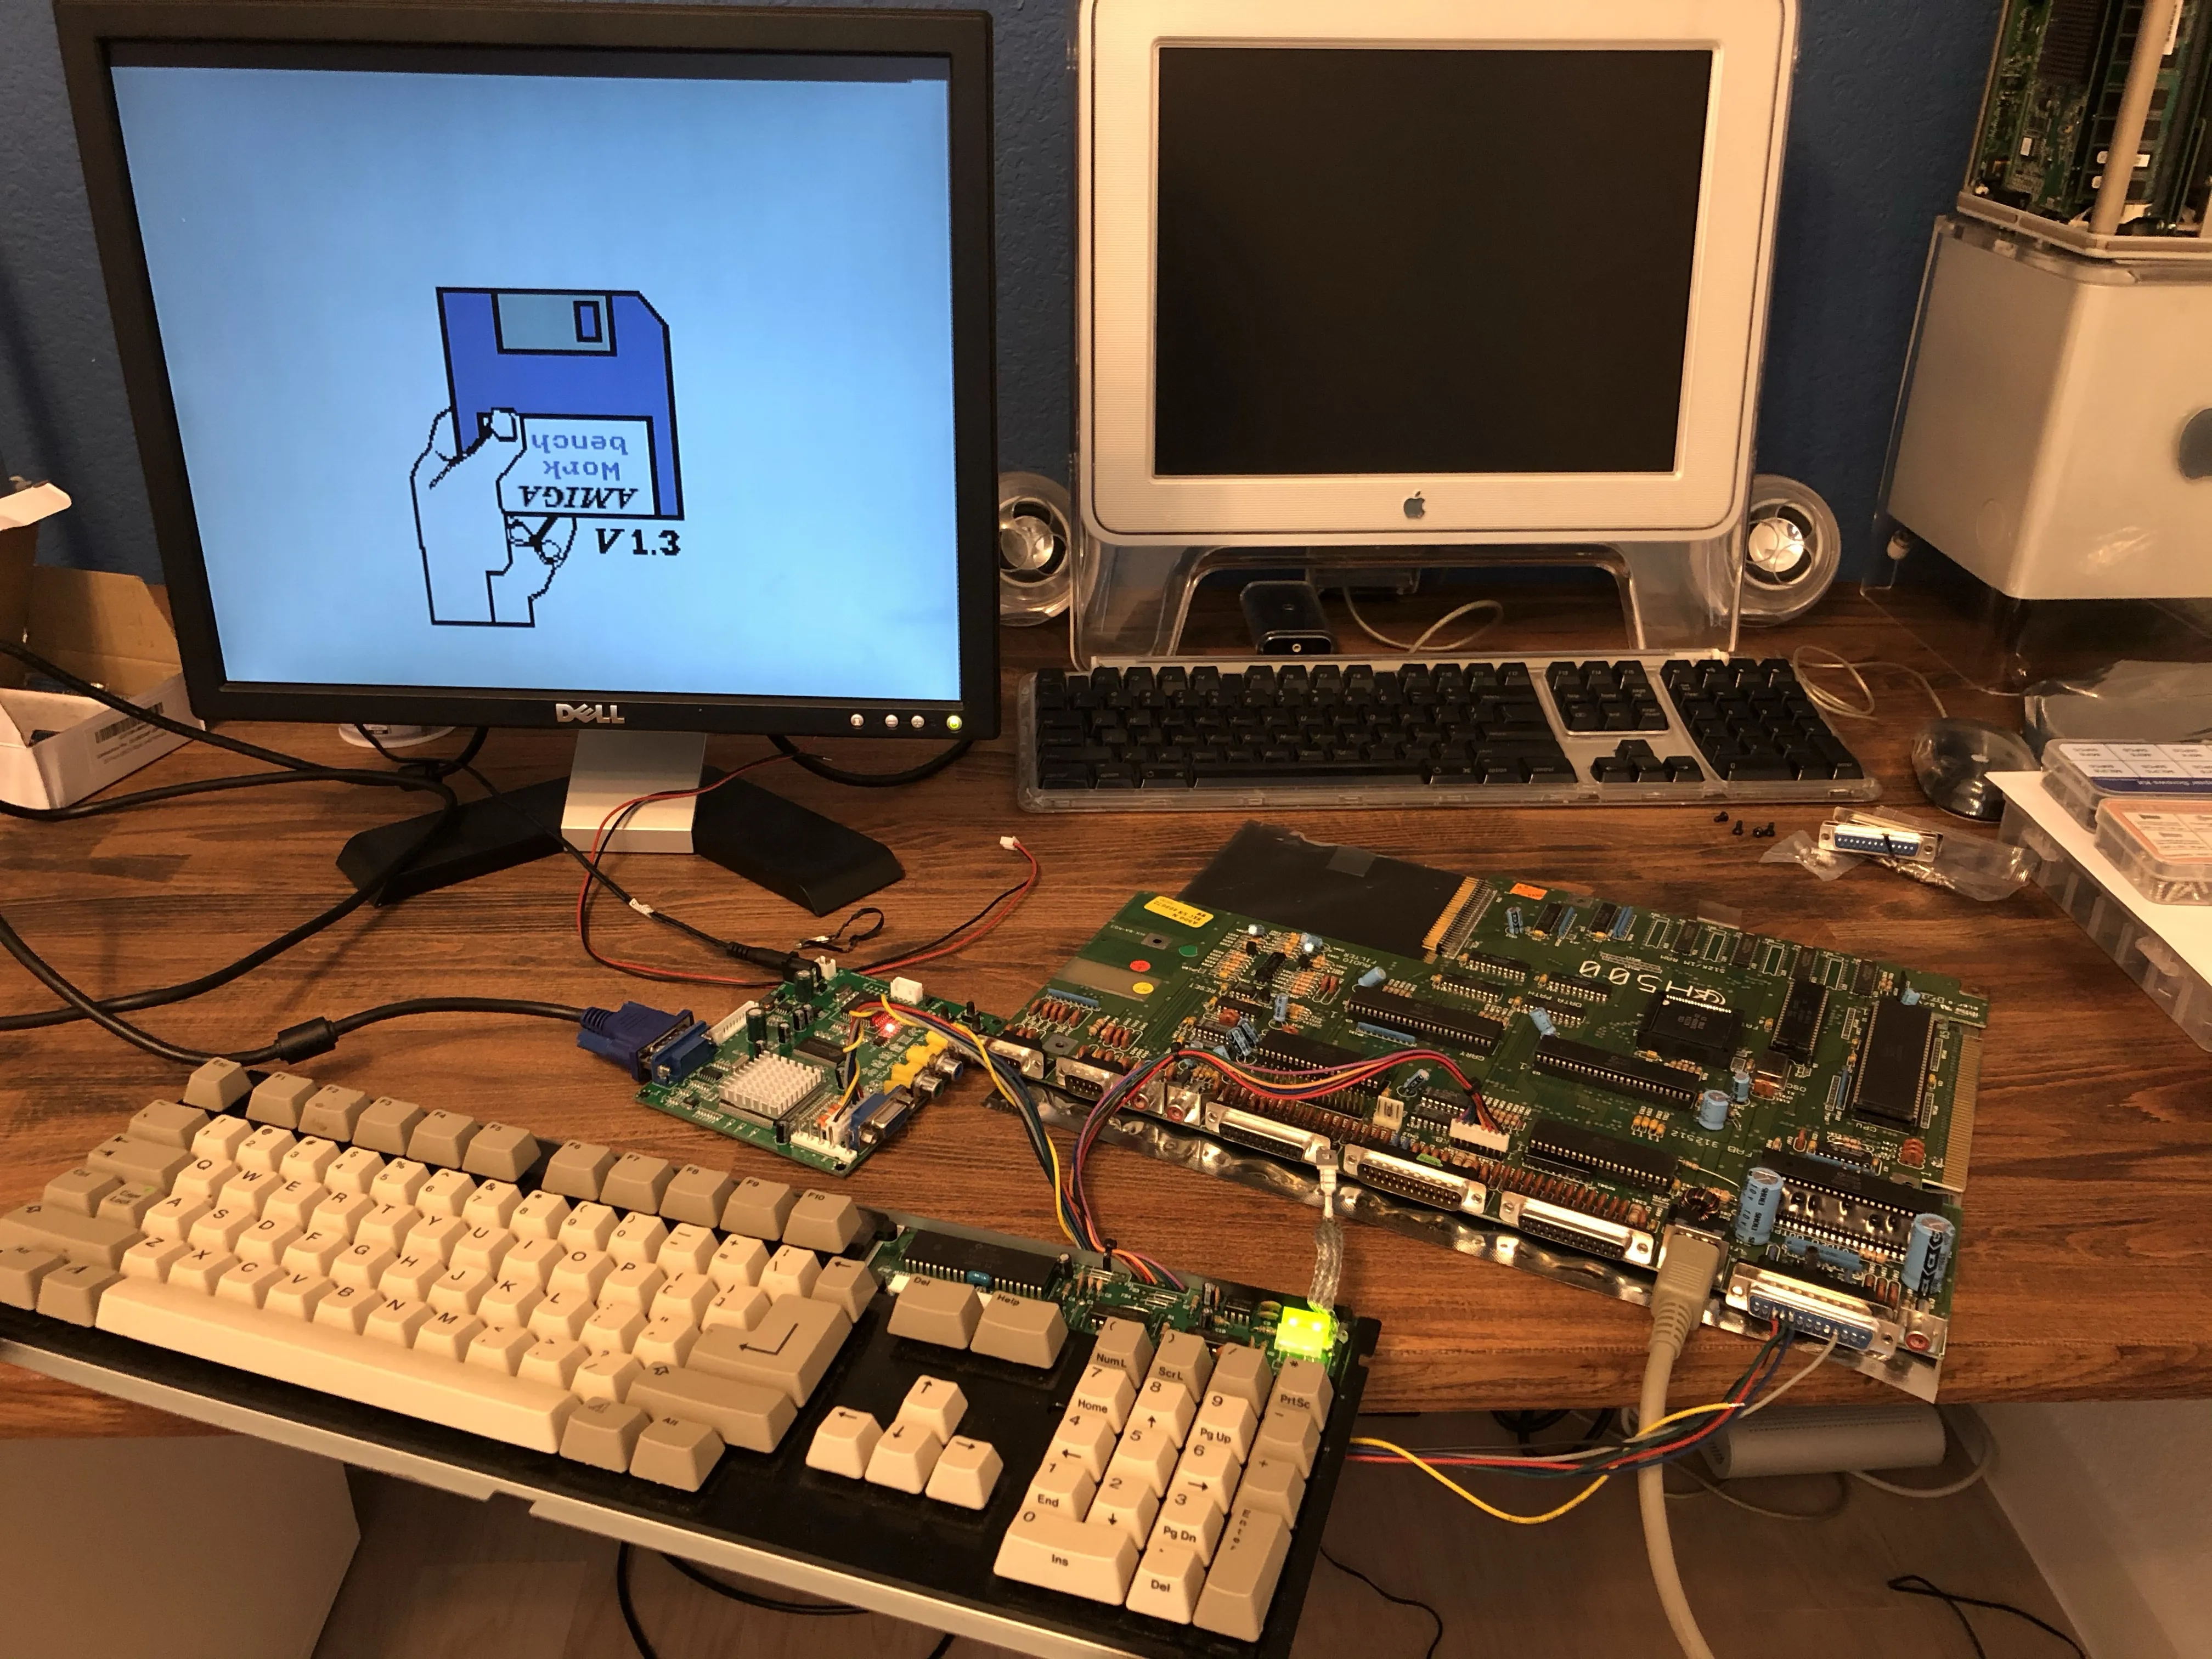
And it booted to the kickstart screen!
I had no issues with the GBS-8220. Well, the language was initially set to Chinese, so it took a lot of blindly cycling through the menus to change it.
Next up, I need to test the floppy drive, keyboard, and joystick ports before I can have some fun with the machine. I also want to upgrade the machine with a RAM expansion and a GoTek floppy emulator. And I also want to repair that damaged case.